Summary
For some students, radio stations provide a better music source than a playlist. Radio headphones can also be an economic alternative to other types of devices.
The manufacturer has discontinued the “Move & Groove” (M&G) model, but the iJoy version is still available.
Contact Information
Trace Mansfield
tmansfield@lesd.k12.or.us
Page Contents
Equipment Images
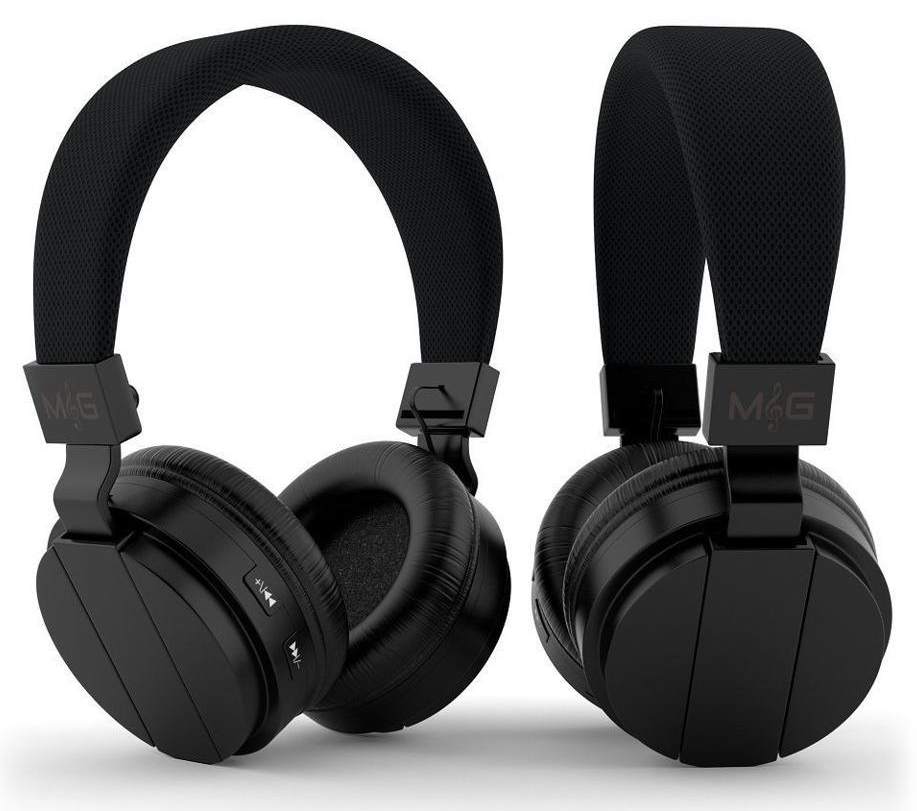
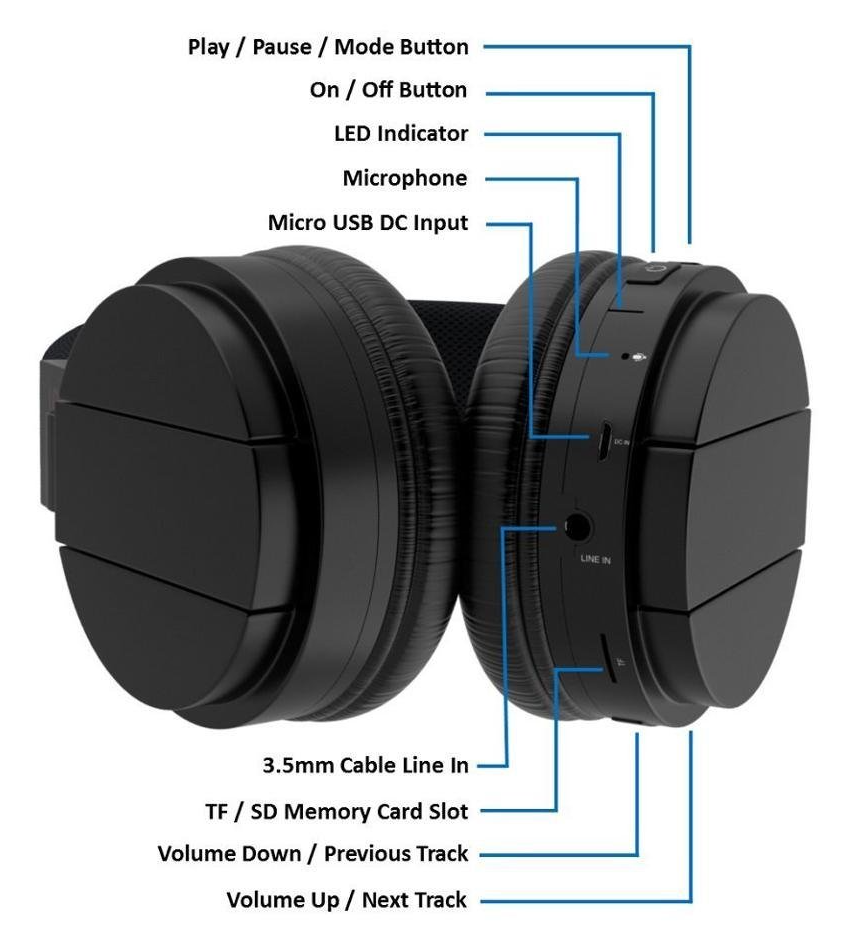

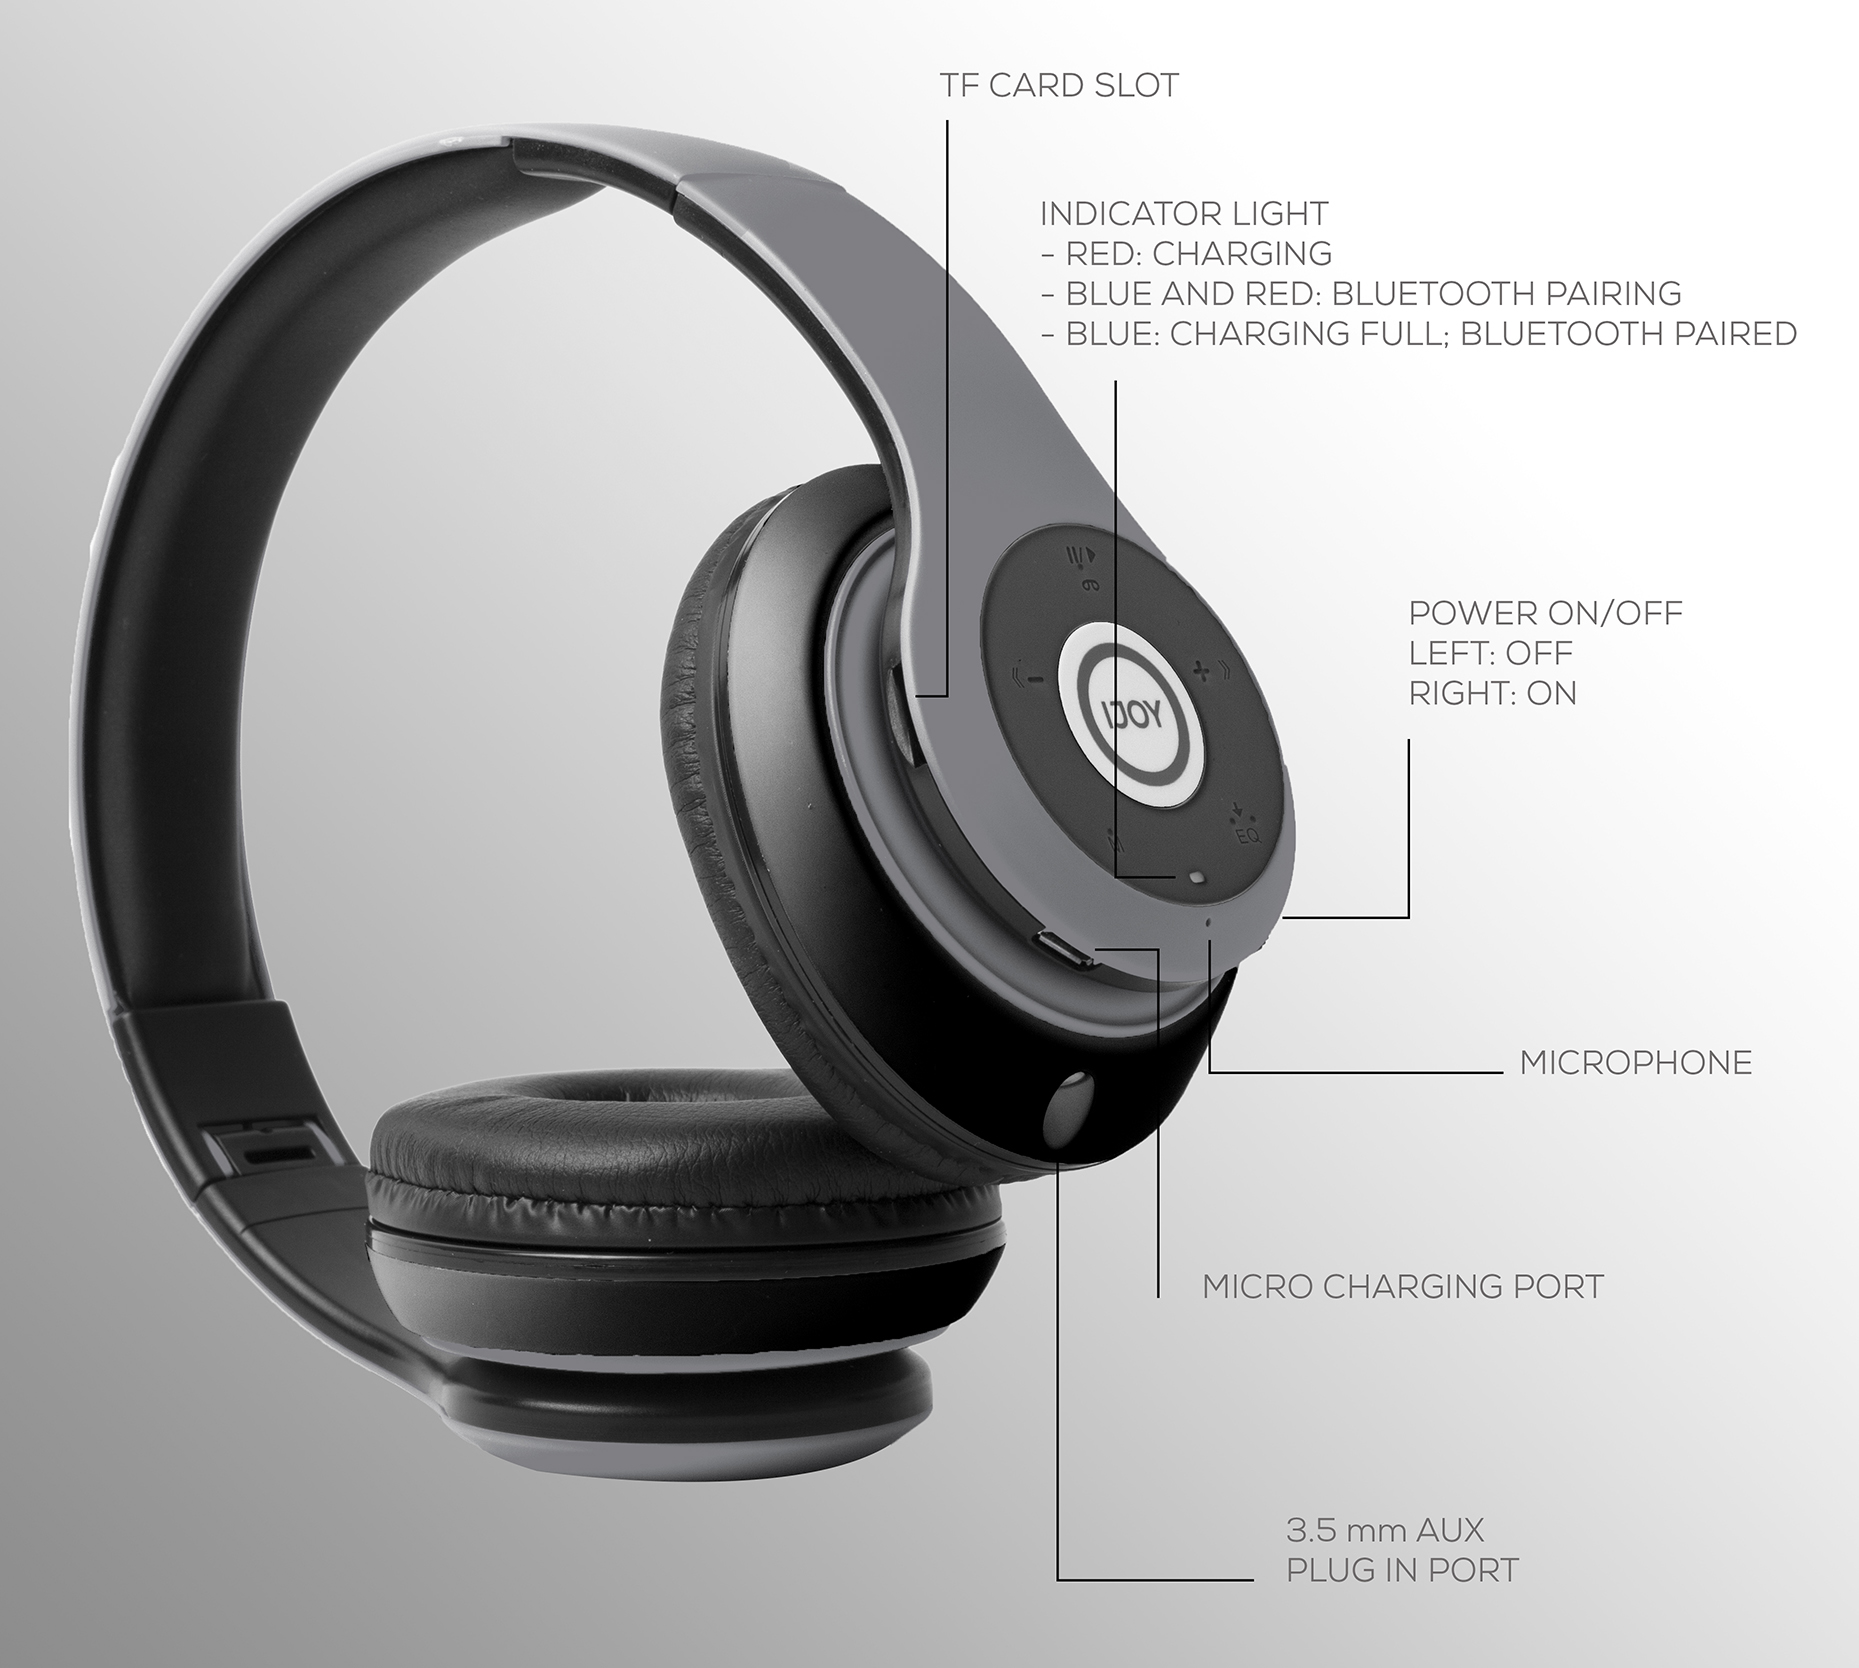
Ignore the microphone (and the “phone” icon on the iJoy), as it would only be used when answering calls while paired to a phone; similarly, the 3.55 mm cable port is not needed (as these are only used wirelessly). The buttons will not function while a cable is plugged in.
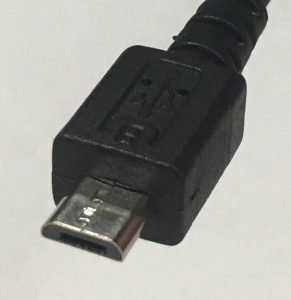
The micro-USB cable (used for charging) is the type that has the thinnest end:
Instructions
Power
- Power On: Press and hold the Power button. You will hear “power on,” and then “Bluetooth mode.” The LED indicator will turn from red to a flashing blue while waiting for you to pair the headphones. Pairing is not necessary, unless you are streaming sound from a device. (The device is identified as ‘RocK-N-Grv’ or ‘IJOY LOGO’. Note that the Mac laptops often do not recognize these devices.)
- Power Off: Press and hold the Power button. You will hear, “power off,” and the LED indicator light will go dark.
Changing Modes
- No TF card inserted: Press and hold the Mode button for 3 seconds, then wait for a moment for the headphones to switch between Bluetooth and FM mode.
- TF card inserted (after turning on the headphones): The headphones will start in Bluetooth mode. Press and hold the Mode button to rotate through Bluetooth > Memory Card > FM radio.
- TF card inserted (before turning off the headphones previously): The headphones will start in the previous mode (i.e., whatever that was when they were turned off). Press and hold the Mode button to rotate through the modes.
TF Card Player
- Playing Music: Ensure that you have MP3 or WAV music files on your memory card and that it is inserted into the TF socket. Power on and change to the TF Card mode (as above). The music will automatically start playing in TF Card mode.
- Volume Control: Press and hold “Volume down” to decrease the volume. Press and hold “Volume up” to increase the volume.
- Song Selection: Press and release the “Previous” button to select the previous song; press and release the “Next” button to select the next song.
FM Radio
- Automatic Channel Search: Turn on the headphones and follow the instructions to change into FM Radio mode. The headphones will say “FM Mode.” Once in FM Radio mode, press and release the “Mode” button again and the headphones will start searching the FM frequency band for FM stations automatically and the LED indicator will flash blue rapidly. The LED will stop flashing when the search is done. (Be patient.) Once the automatic search is completed, the headphones will start playing the first FM station found. The headphones will automatically save up to 30 found FM stations if you have a TF card inserted.
- Channel Selection: Press and release the “Previous” button to select the previous channel; press and release the “Next” button to select the next channel.
Troubleshooting
- Make sure that the heaphones are charged.
- The buttons will not function while a cable is plugged in.
Notes
- These headphones charge with a micro-USB cable, which is the type of USB cable that has the thinnest end (as in the picture above).
- The equalizer (EQ) just rotates through some tone change variations.
- Do not submerge the headphones.